SeeNote Orientation
SeeNote projects
SeeNote is organized around projects. Generally, a project has the following components:
- A directory of media (audio and/or video) to be annotated
- A directory for annotations to be saved to
- Project-specific settings, such as spectrogram visualization settings, annotation tools, etc.
Project settings are saved in the folder you designate as the Project Directory, stored in a .seenote/ subdirectory.
Ideally, a project is fully self-contained, but you may already have your audio stored in a different location that you don’t want to copy or symlink. That’s okay! SeeNote can handle external directories for annotations and audio. It will, however, mean your project isn’t portable, because you can’t zip the whole thing up and move it to a new machine, and SeeNote will warn you to this effect.
Setting up a new project
If you need to create a new project for your annotations, follow these steps to create one.
If you’ve been given a project folder and you need to connect it to SeeNote, simply click the “Open Existing Project” button, navigate to the project folder, and open it.
Launch SeeNote
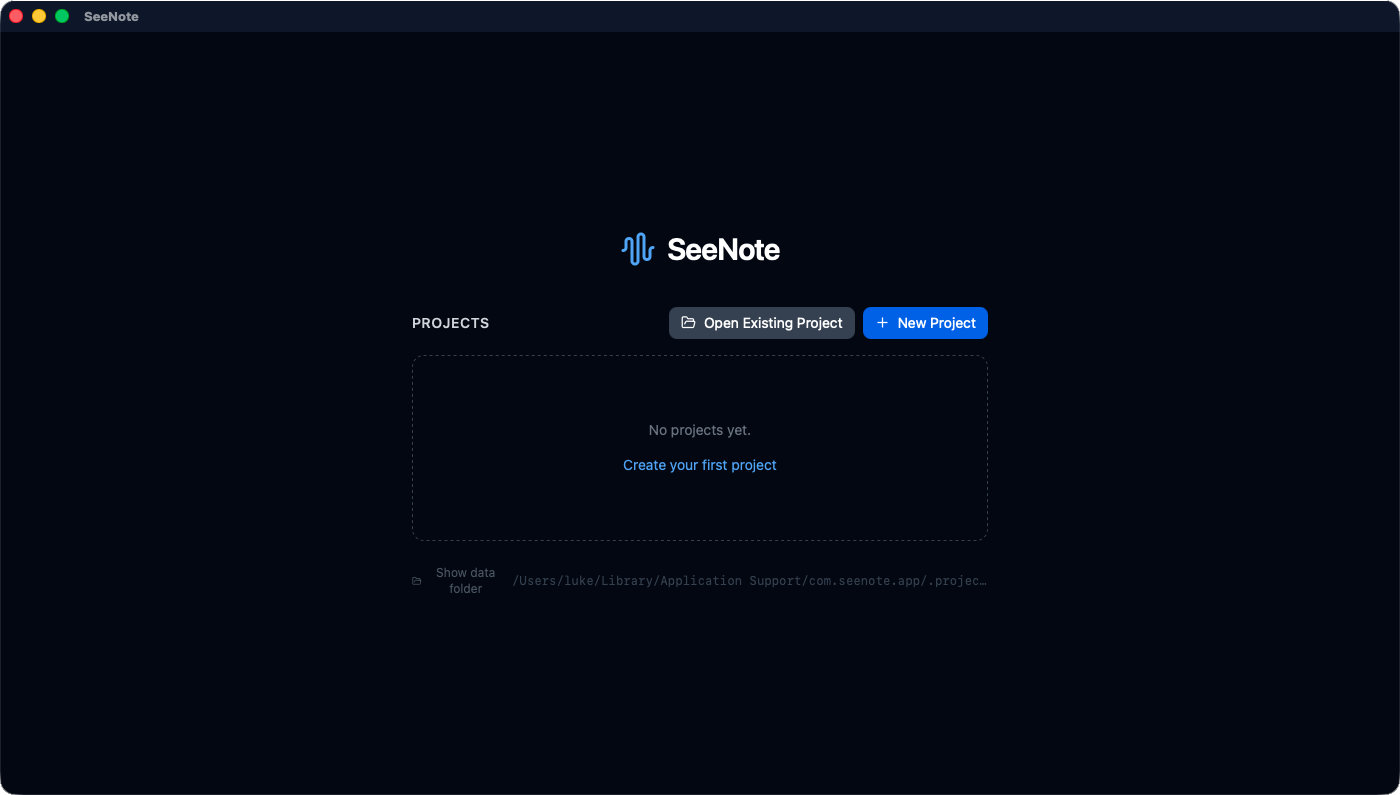
Select “+ New Project”
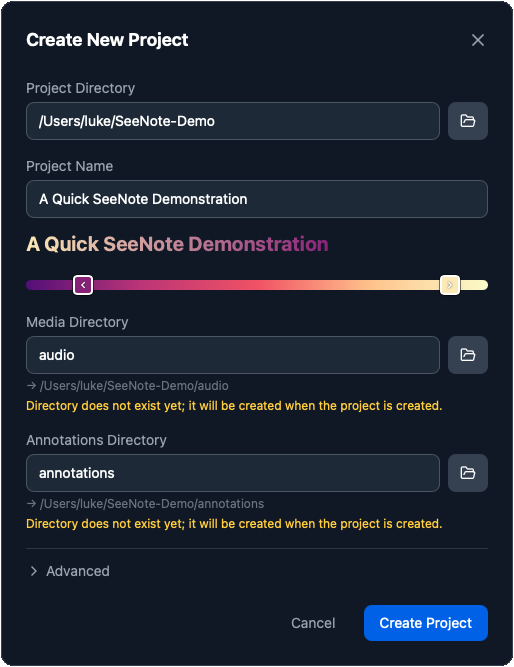
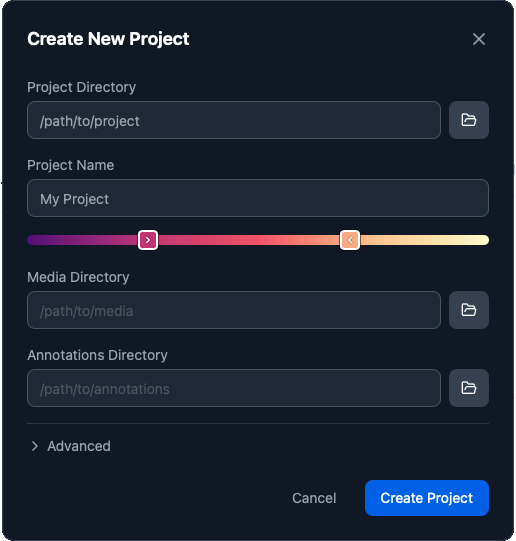 Enter the project information:
- Project Directory: the parent folder that holds your media (audio, video) and annotations folders. This is where the project settings will be saved. If it doesn’t yet exist, you can create it through the file browser button.
- Project Name: whatever you like; this is what will show up in the list of projects on the start screen.
- Colors: have fun with it. This is just to differentiate projects on the start screen. Right click a handle for a surprise.
- Media Directory: the folder holding all of your audio and video files. If an “audio” or “media” folder already exists within your project directory, SeeNote will automatically fill this field.
- Annotations Directory: the folder that will hold all of your annotations; SeeNote suggests simply “annotations” as a default.
You’re done! Create your project.
If the project folder moves…
If you rename or move the project folder, SeeNote won’t be able to find it.
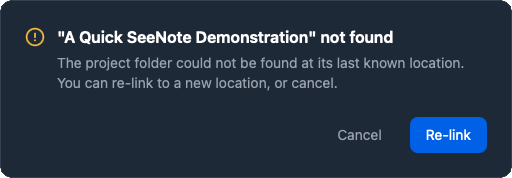
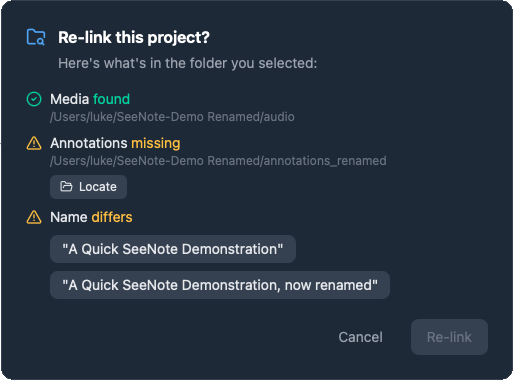
A Re-link dialogue lets you browse to the new location and restore the project in your launch screen. If there are any conflicts between the project in your list and the project that you’re re-linking, SeeNote will ask you to resolve them.
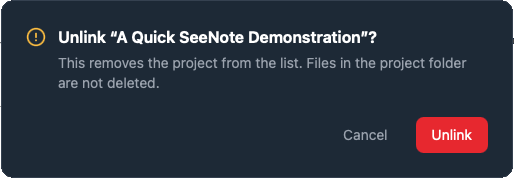
Unlinking a project
Within SeeNote, you can unlink projects so they don’t show up in the launch screen. However, SeeNote cannot delete project data from your computer. You must do this yourself, manually. This protects critical project data from accidental deletion.
Annotation Screen
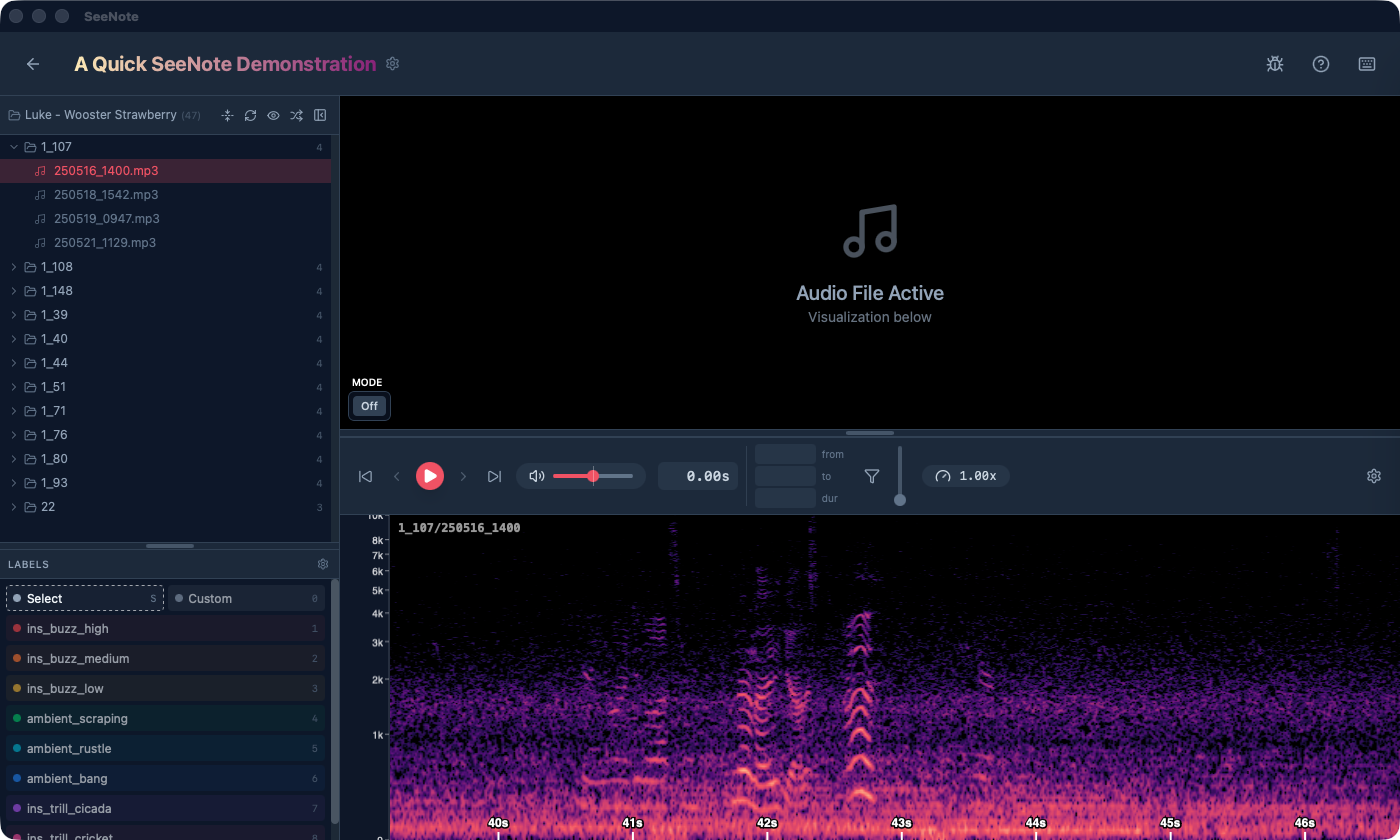
Top Bar
- Back button: press to return to the Projects Screen
- Project name and gear icon: click to open project settings, the ones you set when creating the project
- Bug icon: debug panel, for troubleshooting
- Question mark icon: help menu
- Keyboard icon: keyboard shortcuts
File Browser
This panel shows all of the media files discovered in the media directory. The active file is highlighted. Files with annotations show up with blue text (white text, when they’re the active track).
File icon with media dir name: right click this for the option to show the root annotations or media dirs
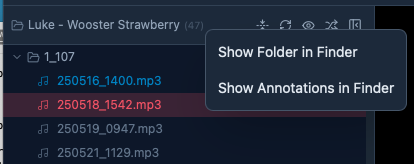
Collapse/expand button: close or open all folders
Refresh button: if files change during annotation, click this button to pick up the changes
Eye / crossed-out-eye / filter icon: this icon toggles through view states, showing all files, un-annotated files, or showing only annotated files
Shuffle icon: enters shuffle mode, used for annotating many small files. Tracks are placed in random order
Collapse button: collapses the file tree and annotation palette to give the spectrogram more space
Annotation Tools Palette
This palette shows all of your available annotation tools, their colors, and their bound hotkeys. You can click the tools to activate them, but you should really just use the hotkeys instead!
Mousing over the tools gives a tooltip showing their description.
Click the gear icon at top right to open the Annotation Tools Settings.
Annotation Tools Settings
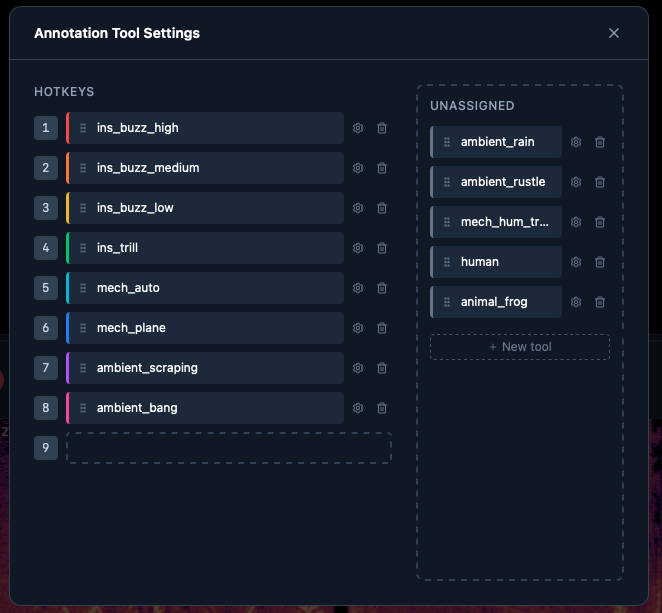
On this screen, you can drag and drop annotations to re-bind their hotkeys, or you can un-assign them from hotkeys. Unassigning an annotation tool doesn’t delete it or its corresponding annotations, it just stashes it to free up a hotkey.
Editing an annotation tool
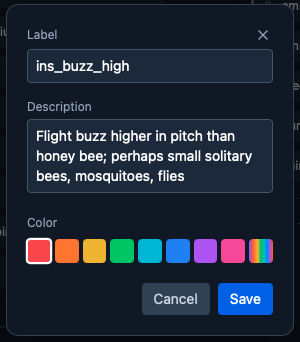
Each annotation tool has its own settings. These consist of:
- Label: the name of the annotation; changing the label will update the names of all corresponding annotations across the project.
- Description: a short description of when to use the label
- Color: the color of the annotation on the spectrogram track